Creating a plan has never been easier
After signing in to your dashboard, on the left hand side menu click 'Plans' which will open up a drop down menu - Click 'Create a plan' as per below:

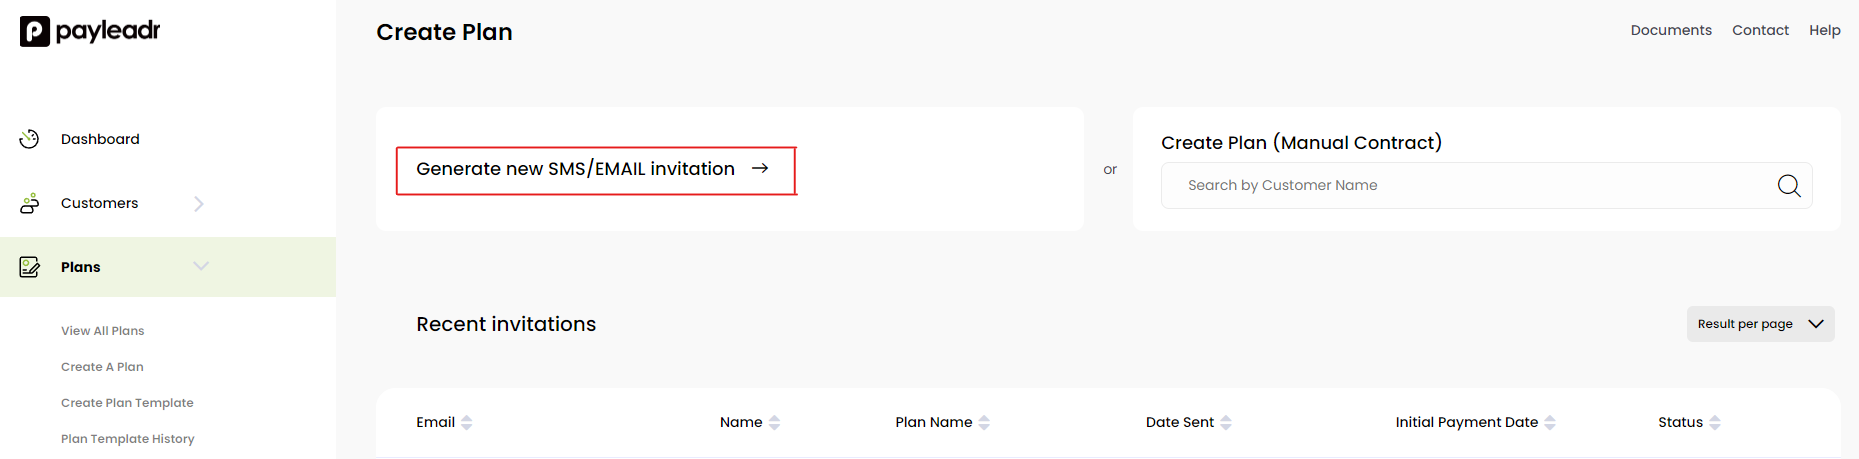
After selecting 'Create a plan' the below page will load and you will need to click on 'Generate new SMS/ Email invitation' as per below:
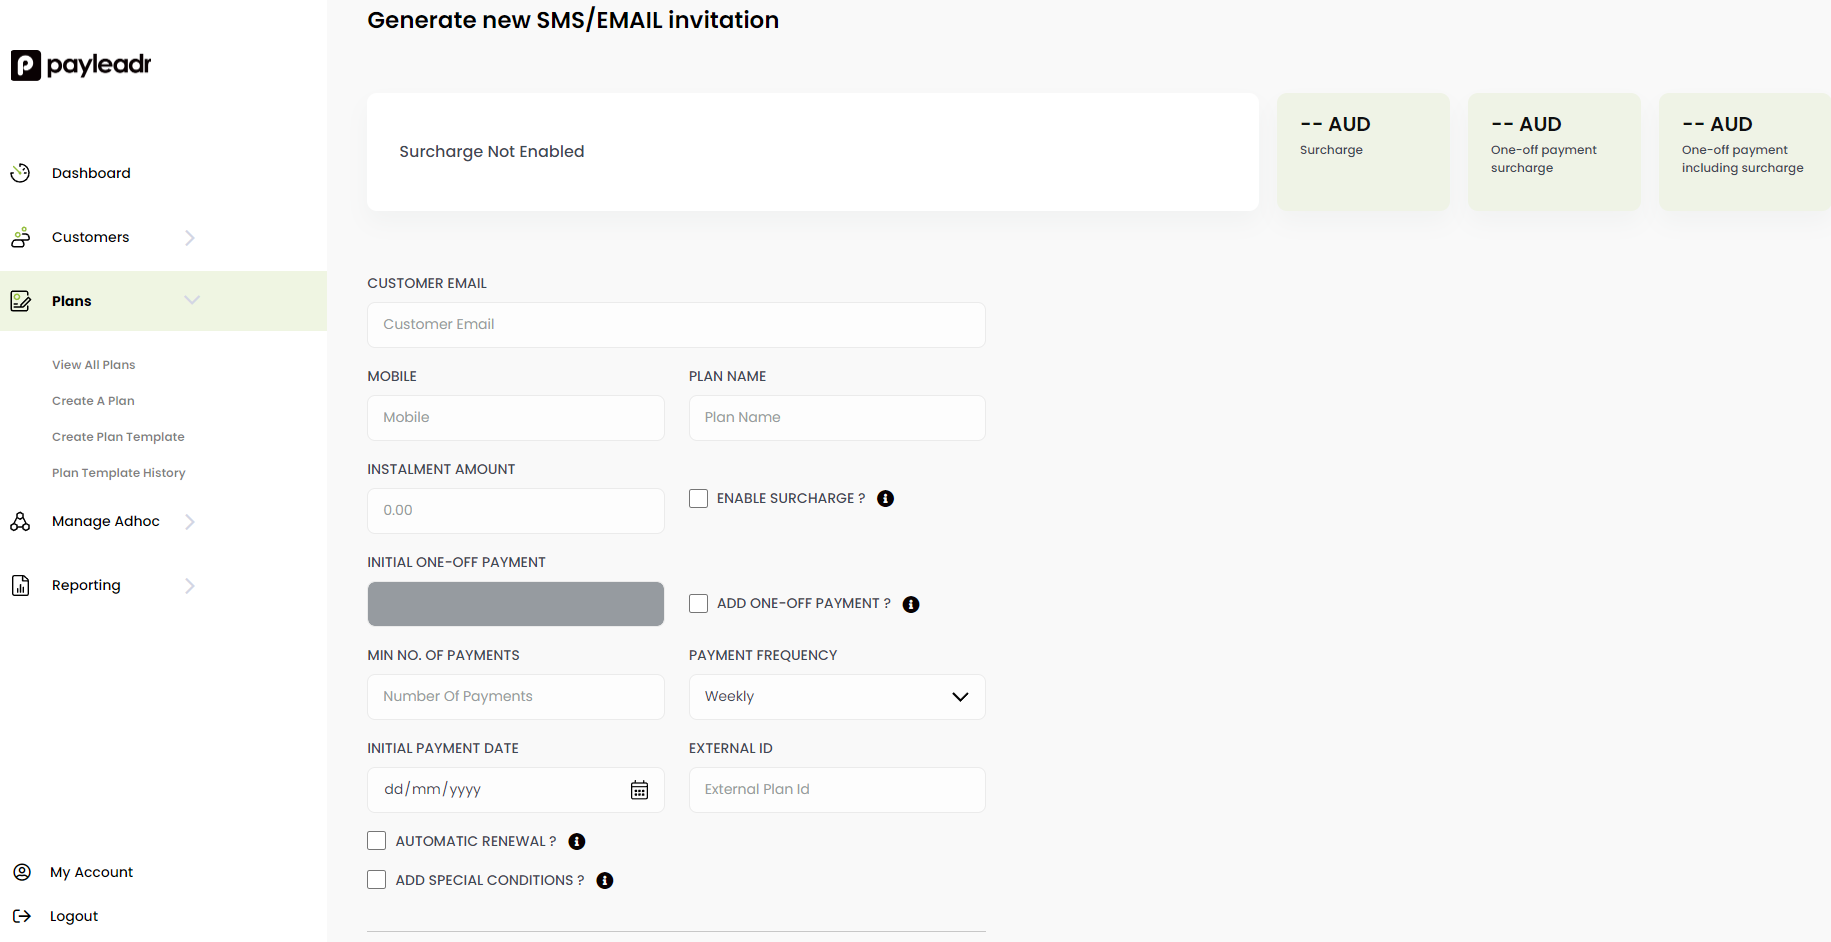
After selecting 'Generate new SMS/ Email invitation' it will load the below page which you can now make a customised plan for your customer. Below the image underneath you will find further detail on how to make a custom plan:
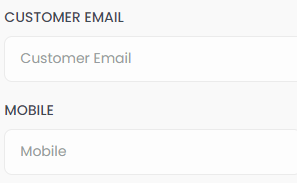
Enter your customers email and mobile number in the section shown below. (A secure URL link to sign up to the plan will be sent directly to there email and mobile as soon as you create the plan)
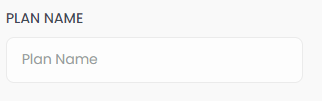
Enter a name for the Plan you are creating in the section shown below. (This could be 'Mary-Janes Plan' or 'Johns plan')
Enter the amount you would like your customer to be paying on each instalment in the below section: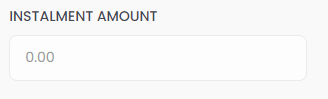
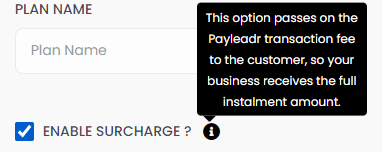
If you would like to pass the Payleadr Transaction Fee on to your customers offering you a zero cost solution for your business give the box below a tick:
If you would like to charge an additional amount on top of the first instalment amount, tick the box below and put the amount in to the left:

Below you are able to set up the minimum number of payments you would like for the membership/ contract and the frequency of those payments.
For example if you put 12 in the Minimum no. of payments box and selected weekly, this would set the agreement up for 12 weekly minimum payments. If you put 12 in and selected Fortnightly this would equal a minimum of 12 minimum fortnightly payments.

Below you put in the date you would like the 1st payment to be debited.
To the right there is a selection box 'Allow acceptance after this date'. By selecting this option it will mean the invitation link will not expire. If the initial payment date arrives and the customer has not accepted the plan, the initial payment date will be automatically changed to the next day. This will continue to happen until the plan is accepted.

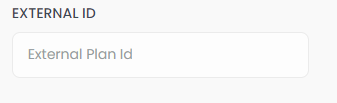
Below is an option field in which you can put an external Plan I.D in for that customer, this could allow you to export a CSV file and import it into your software system if integration is not available.
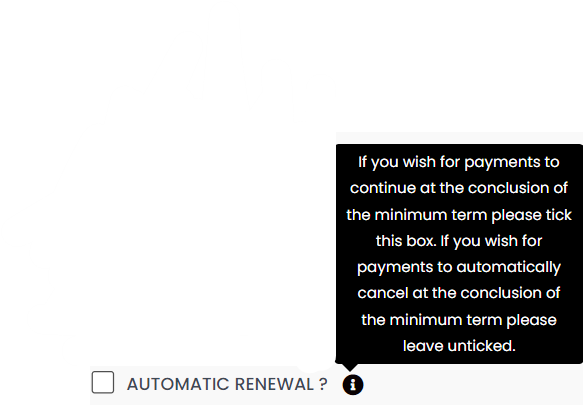
If you would like payments to continue after the minimum payment term you just need to tick the 'Automatic Renewal' box below. If you leave it unticked the payments will automatically stop after the minimum payment is made.
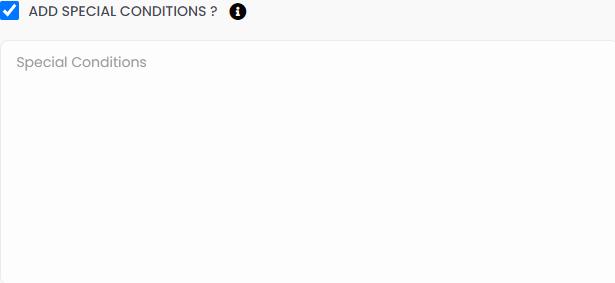
There is an option to add any special conditions to that specific plan as well. This is also a good place to add any conditions around customers cancelling once they have made the minimum amount of payments.
Example: After the minimum term is met you must give 2 weeks notice before cancelling.
Once you have made the plan above you click the 'submit' button below. This will then automatically send the customer a secure URL link to there email and phone number provided immediately, allowing them to sign up within minutes.